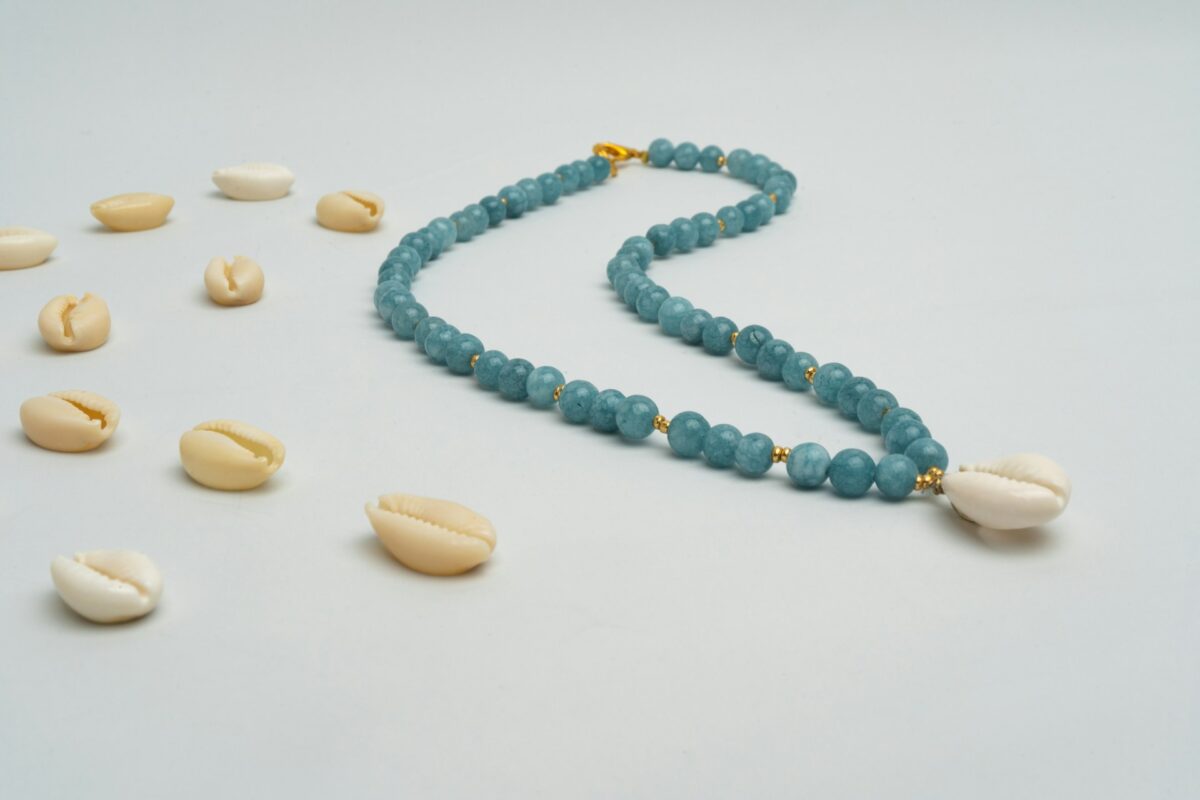
Ah, shell necklaces! They’re not just a staple of beach vacations and summer flings; they’re a timeless piece of jewelry that brings a bit of the ocean’s magic into our daily lives. Let’s dive into how you can make your very own shell necklace. It’s easier than you think, and the end result is absolutely rewarding.
Gathering Your Shells
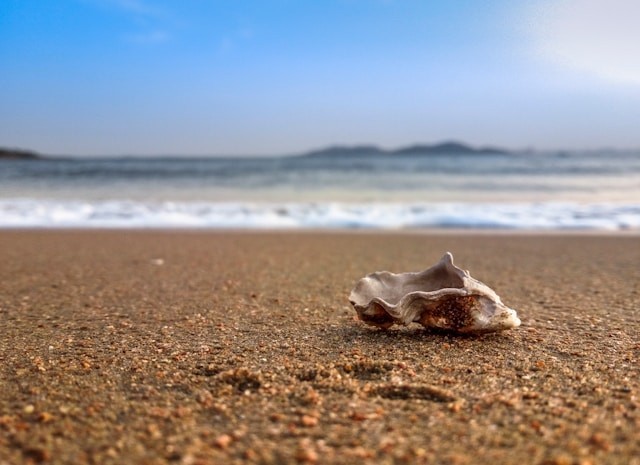
First things first, you need shells. If you’re lucky enough to live near a beach, go on a shell hunt. Look for shells with natural holes (like puka shells) or ones that can easily be drilled. No beach nearby? No worries! Craft stores and online marketplaces are treasure troves for shells of all shapes and sizes.
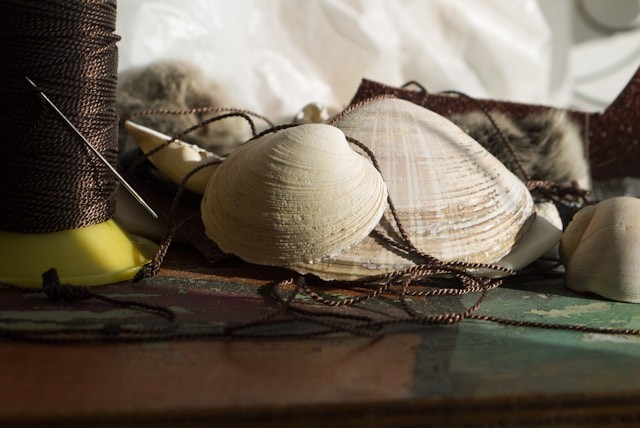
Tools and Materials
You don’t need a whole workshop, just some basic tools:
- Shells (obviously!)
- Beading wire or strong thread
- A drill (if your shells don’t have natural holes)
- Clasps and jump rings
- Pliers and wire cutters
- Beads (for extra pizzazz)
- A creative spirit (the most important tool!)
Drilling (If Needed)
If your shells don’t come with ready-made holes, it’s time to play dentist. Carefully drill small holes in your shells. Remember, patience is key! You don’t want to break these little sea gems.
Designing Your Necklace
Lay out your shells and beads on a flat surface. This is where you can let your creativity run wild. Mix and match until you find a pattern that screams “this is me!” There’s no right or wrong here – only what makes you smile.
Stringing It Together
Thread your wire or string through the shells and beads in the pattern you’ve created. Feel free to hum your favorite tune while you do this – it’s proven to improve creativity (not scientifically, but it sure feels like it does). Make sure to leave enough wire at the ends to attach your clasps.
Attaching the Clasp
Using your pliers, attach a jump ring to one end of your necklace, and a clasp to the other. This might be a bit fiddly, but think of it as the final boss in a video game – challenging but oh so satisfying once done.
The Grand Finale
Once your clasp is on, give your necklace a gentle tug to ensure everything is secure. And voila! You’ve just created a piece of the ocean to carry with you.
Care and Maintenance
Shell necklaces are like pets; they need a bit of TLC. Keep them away from water (ironic, right?) and store them in a dry place. If they need cleaning, a soft, dry cloth will do.
Styling Your Necklace
Now for the fun part – wearing it! Shell necklaces are incredibly versatile, they can jazz up a simple t-shirt and jeans, add a boho touch to a summer dress, or even complement a classy evening outfit. It’s all about how you wear it.
The Takeaway
Making a shell necklace is not just about crafting a piece of jewelry; it’s an exercise in creativity, a way to relax, and a method of bringing a slice of nature into your everyday life. It’s a reminder of sunny days, waves crashing on the shore, and that one ice cream that dripped all over your hand because you were too busy searching for shells.